
Son Date - Layout
Done for Sassy Scrappers

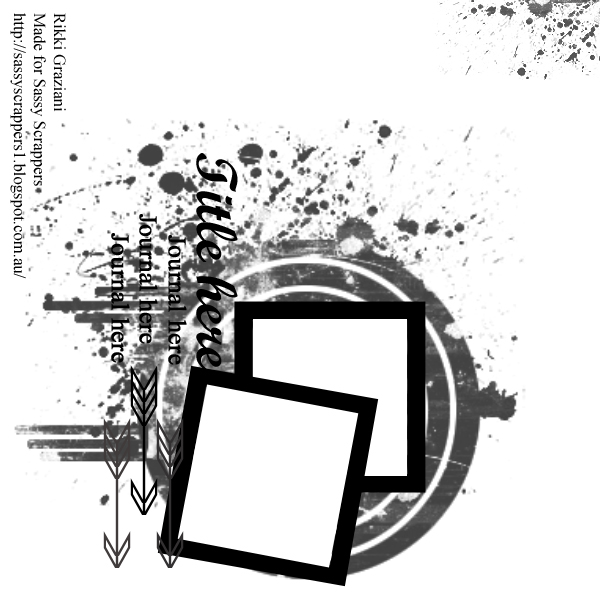
Yep that's right I flipped it...... The next focus for me is the background that big circle and as you have seen from the other design team members we have all interpreted that very differently, for my first example I used a square but this time I want to share a cool technique that I have been having fun with lately .
Its a blending, bleeding technique that you can use with a lot of different brands of misters....
Pick a couple of colours that have the same tones and make sure you have a roll of paper towel ready....
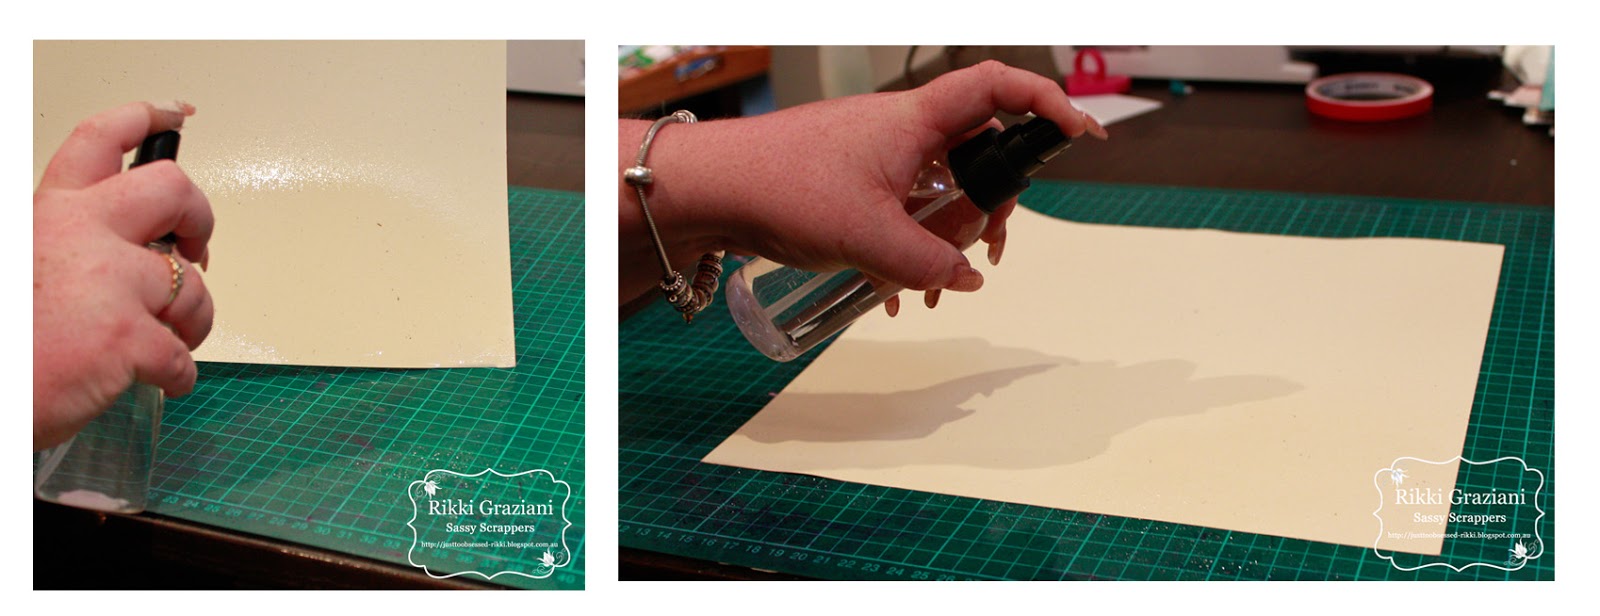
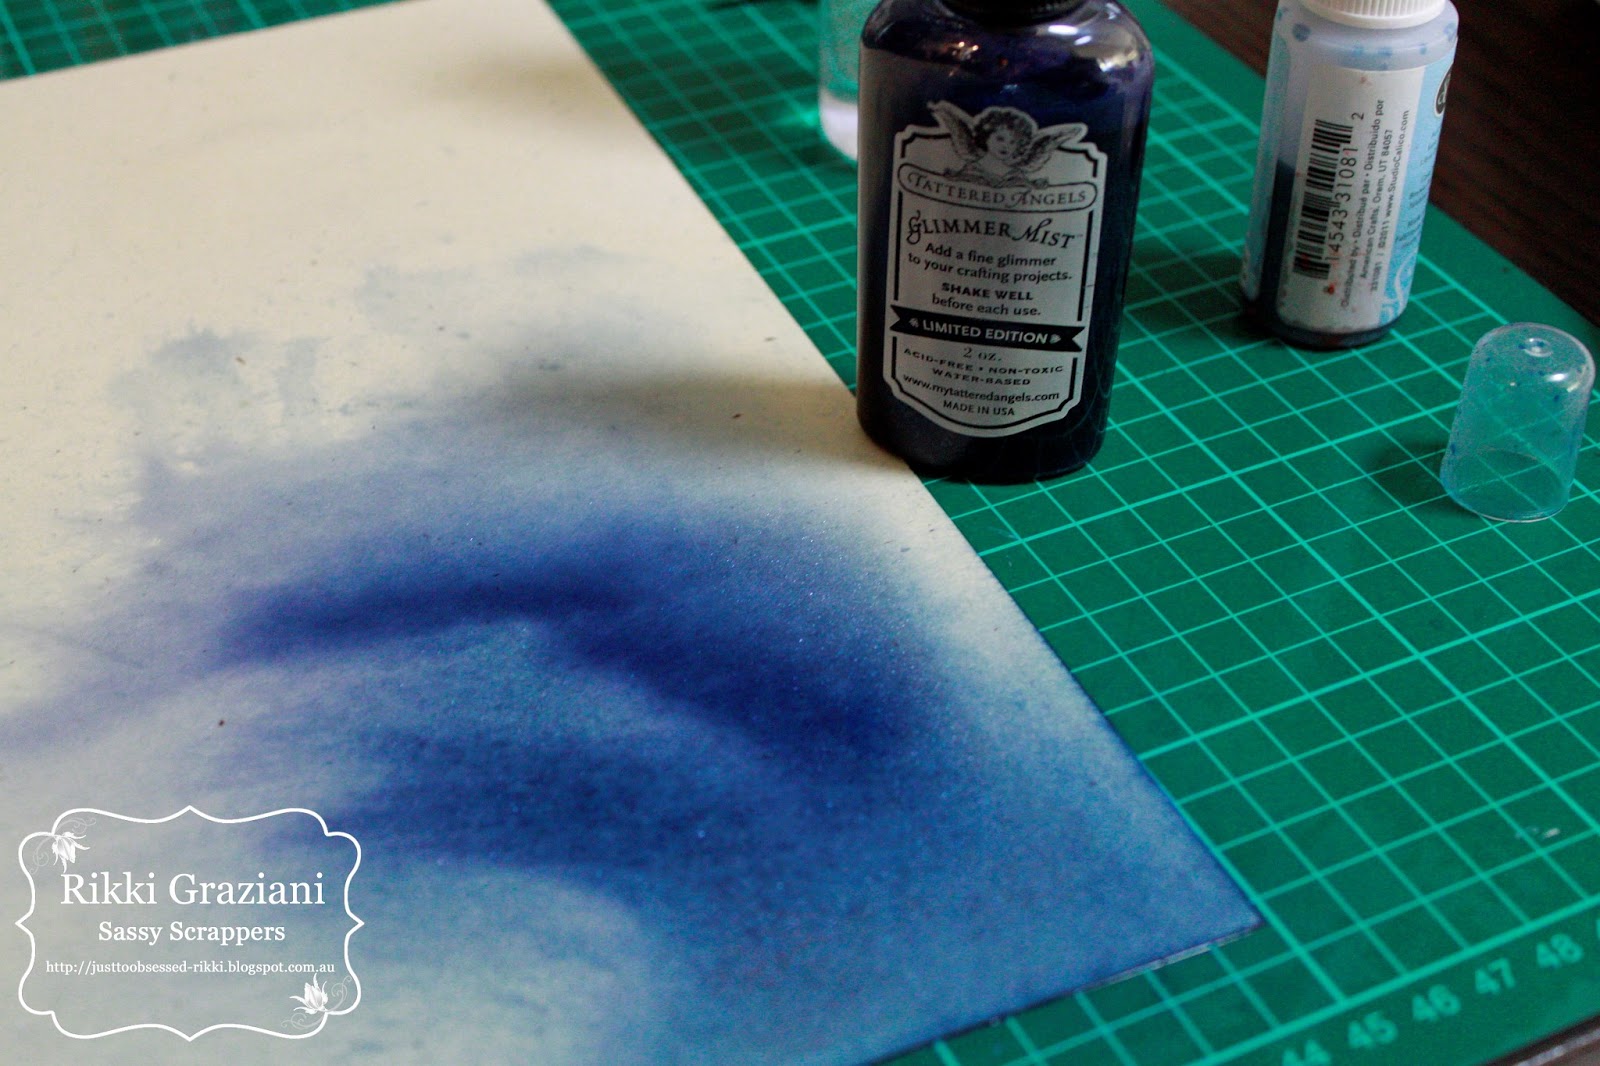
To start off this technique wet your cutting mat with a mister bottle full of water, then wet the back of your cardstock and sit it on your wet mat trying to make sure its flat, then mist the front of the cardstock and be very generous as you want the glimmer mist to pool and pull around your page. By doing this it will eliminate all the harsh lines you get from your mister and it gives you time to blend colours and it will also stop the cardstock buckling.
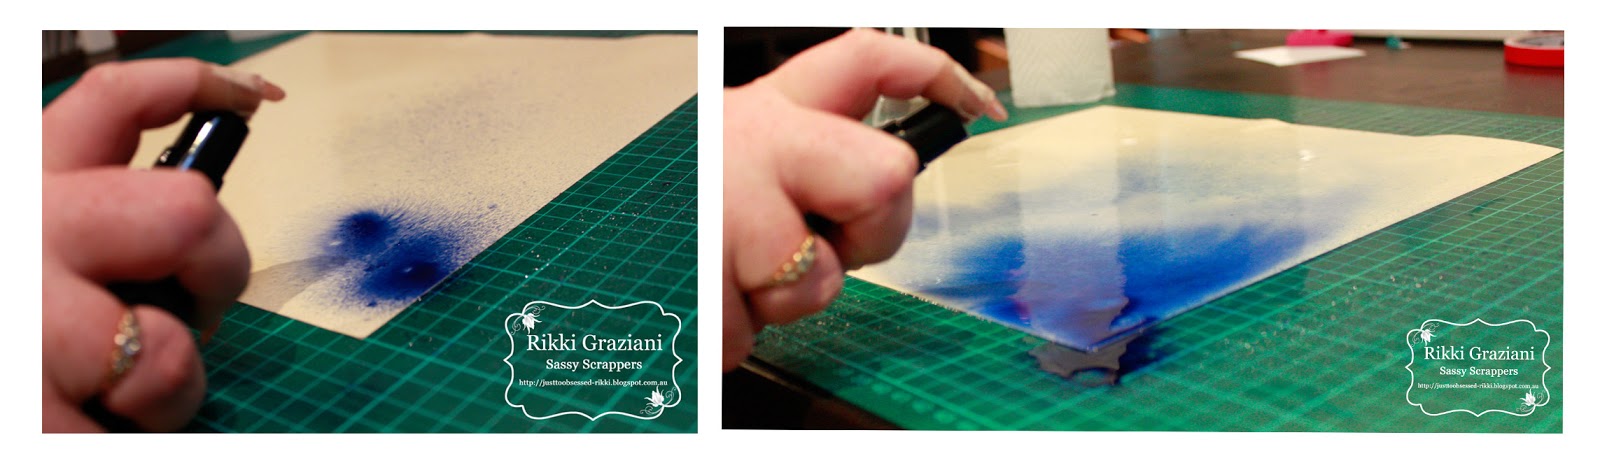
Use your mister bottle full of water to blend out the dots from the colour and it will make it bleed out. So as you can see at this point your mat and paper is very wet and it will keep "pulling'' across your page.
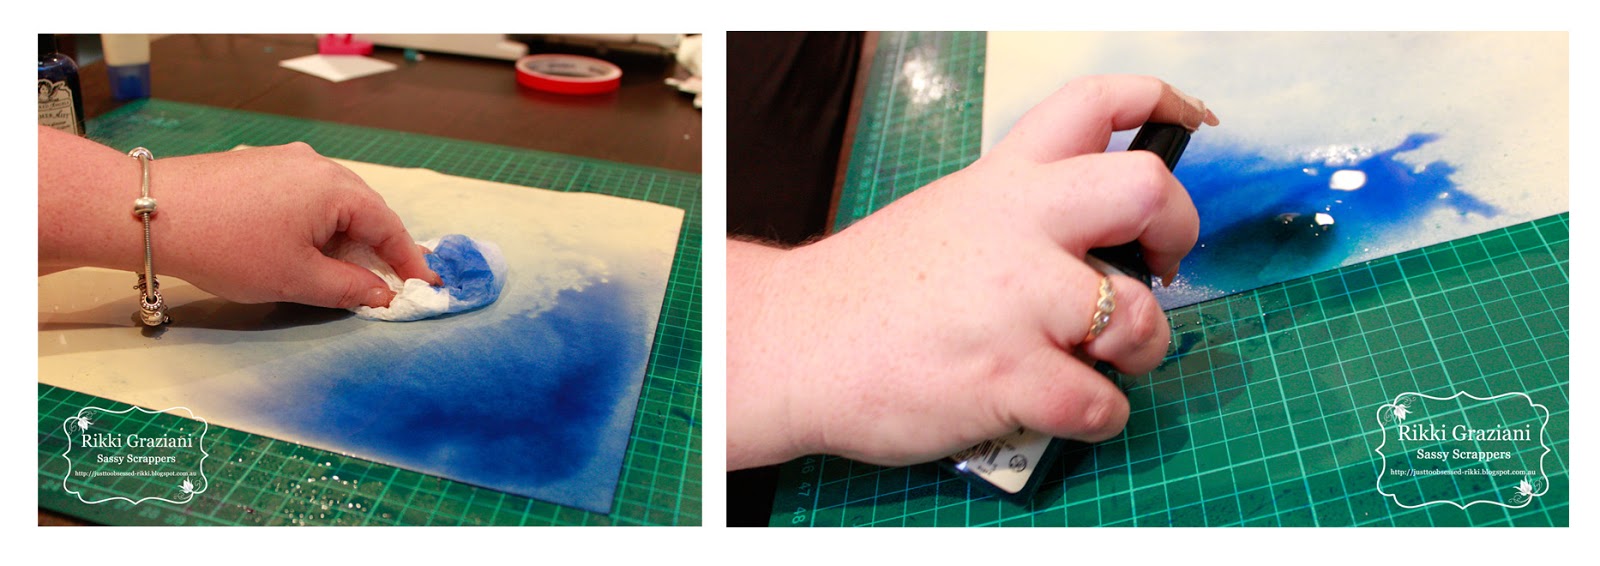
If you happy with the results mop up some of the extra water with your paper towel but don't dry it off completely because this is the time that you will want to add a highlight colour.
Once you start adding in the highlight colour, pull out the water bottle and repeat the first steps.
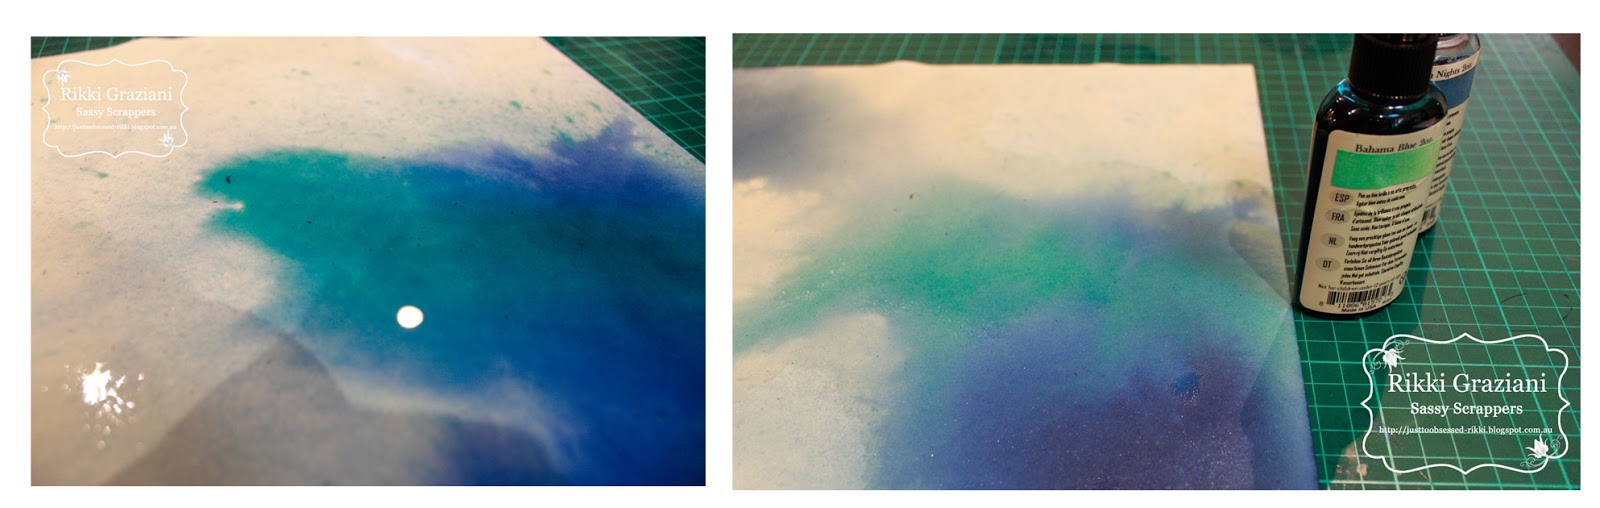
Now as you can see the page is quite wet, grab your paper towel and mop up the extra water especially where there is no Glimmer mist as it will leave a watermark on your page. Now here comes the hard part, you can either grab your heat gun to dry it, if you do this make sure you are alternating the heat gun from back to front as it wont leave ''burn'' marks also after its dry you can iron it on a low temperature between two towels.
But my personal preference is it leave it dry naturally, as soon as it is half dry carefully lift it and place some paper towels underneath it , and leave it to dry and believe it or not it its really flat as you can see below. While I have misters out will go and play with different combos of colours and I do a few different backgrounds for later on.
So now comes the quickest part of the sketch, picking your photos and your pattern papers, sometimes I find it easier to print the sketch out and have it on my desk for reference especially if you have flipped it and you have a number of layers.
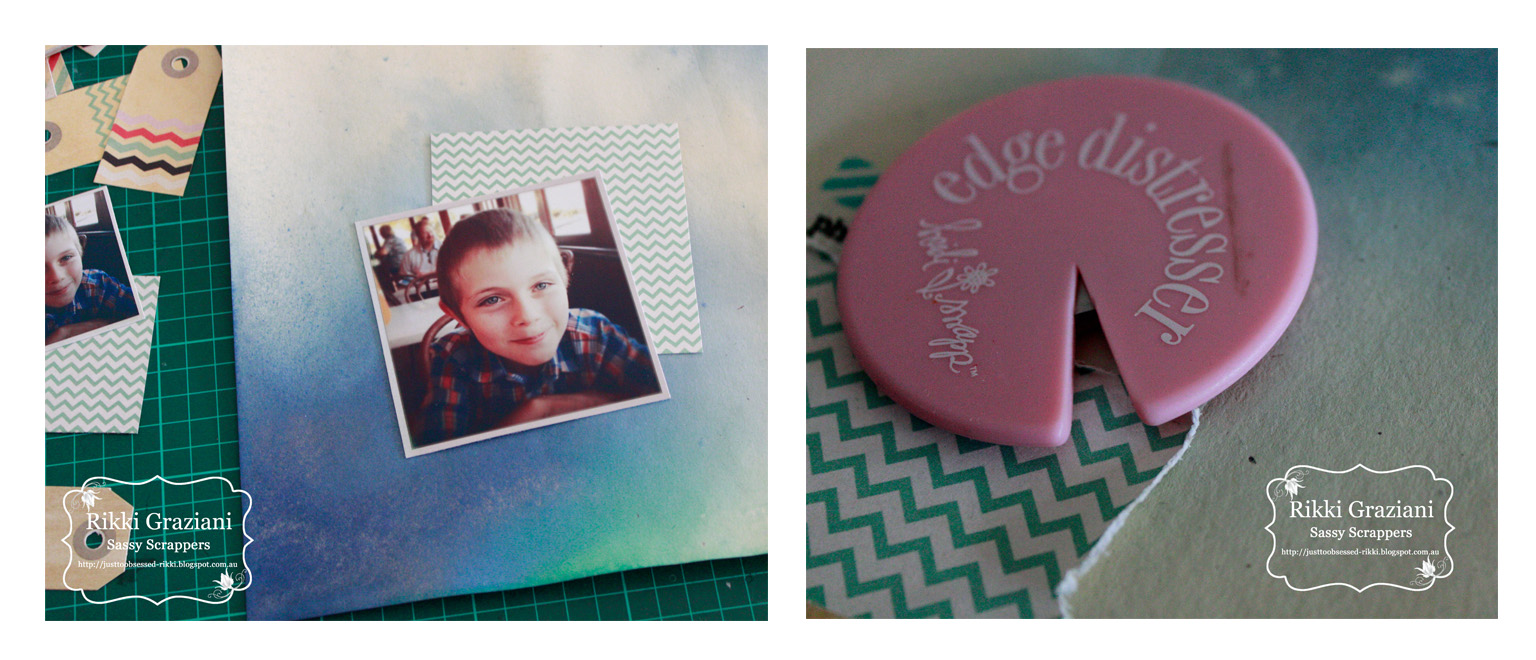
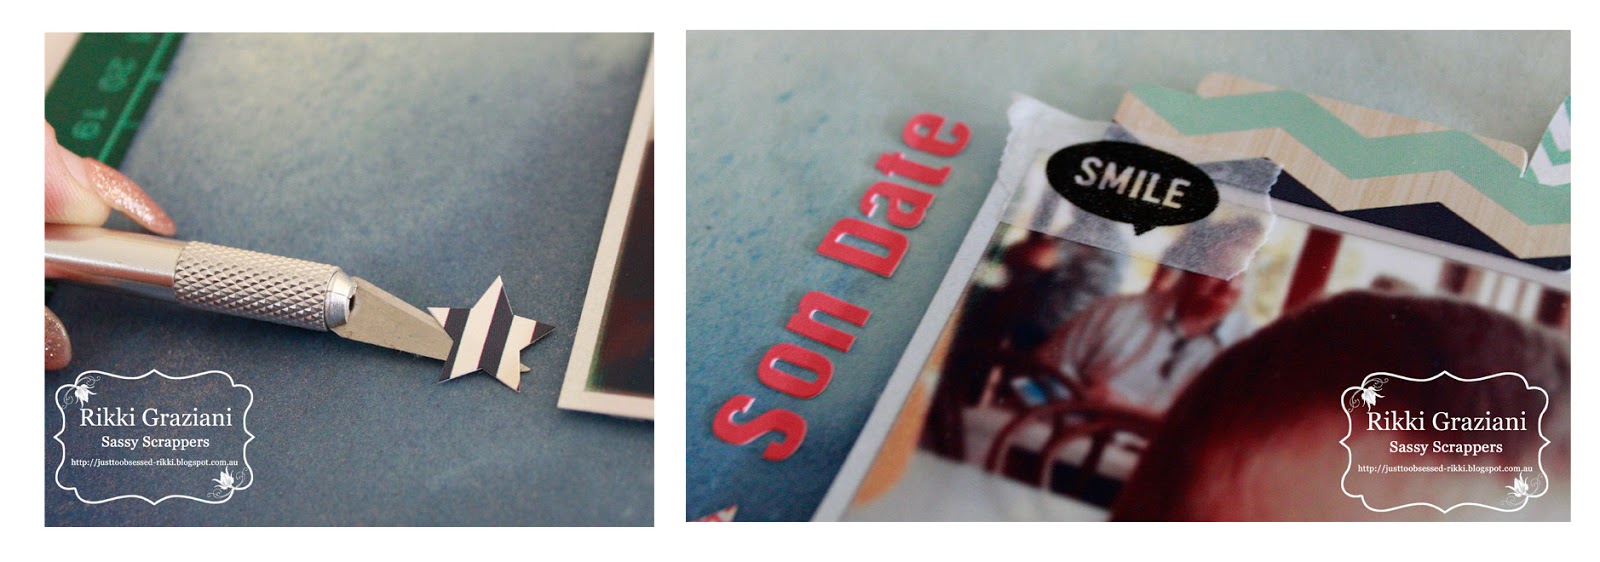
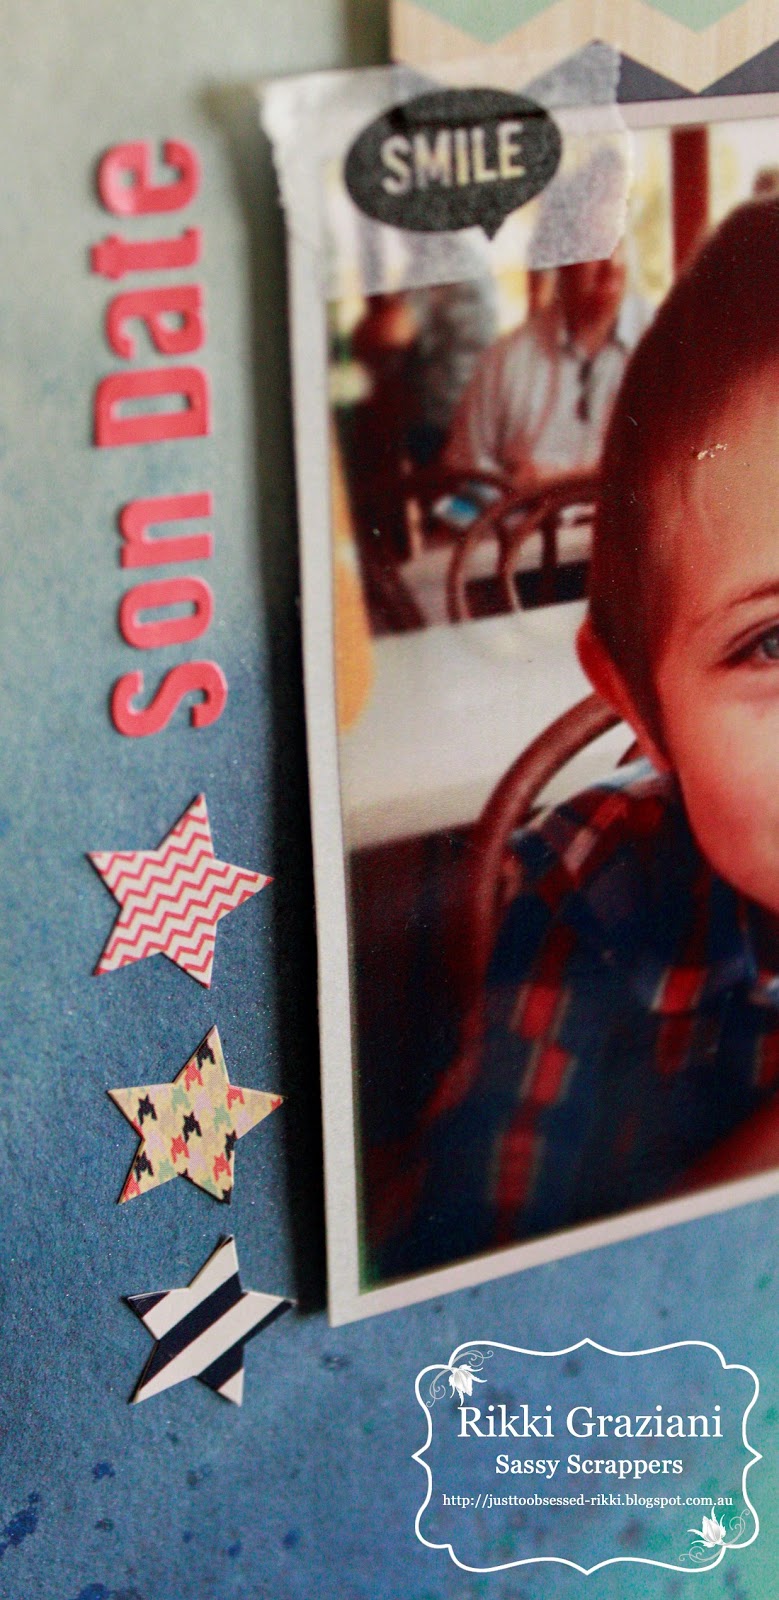
And then you just follow the sketch remember you can layer different things, add washi tapes and don't forget your stickers. I am very lucky this month to be sharing with you Fancy Pants Trendsetter kit which has everything you need and it all co ordinates which is a great time saver and money saver too.
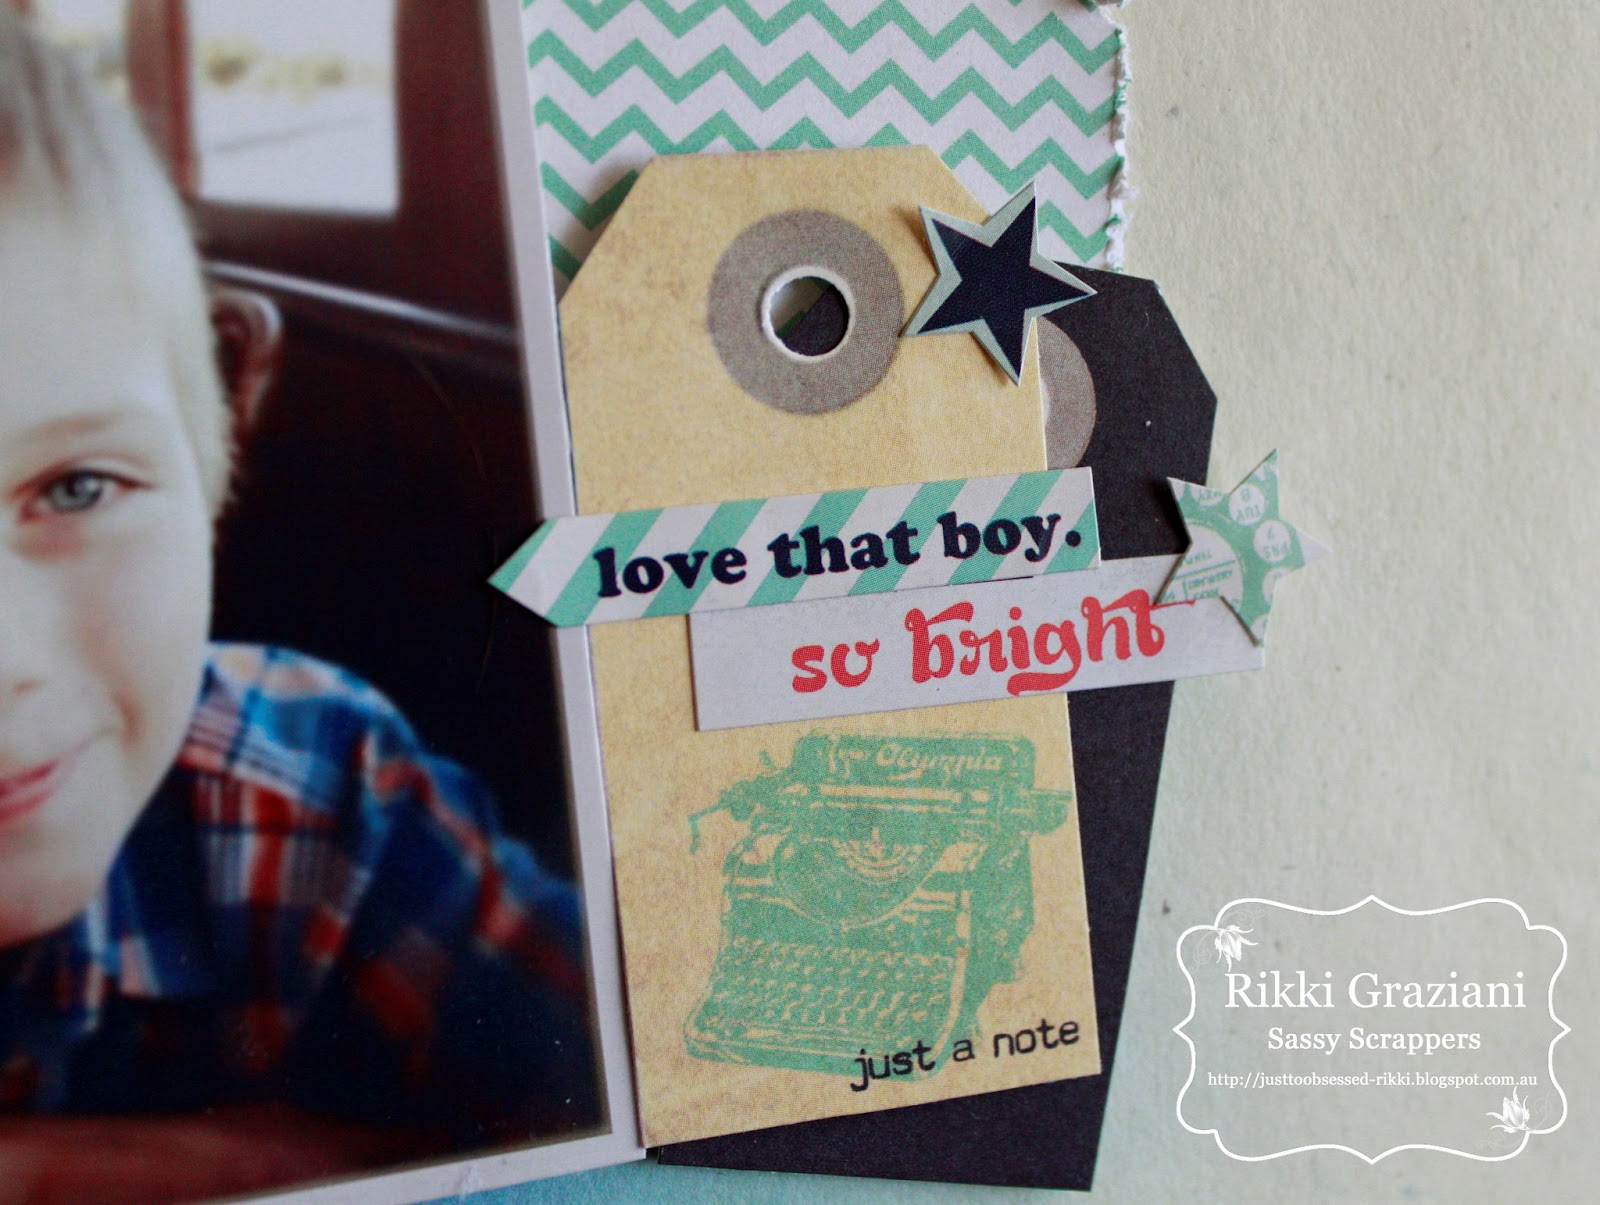
This kit has the best sheet of tags that you just have to cut out and stick on your layout and with easy stickers you have instant journaling.
No comments:
Post a Comment